

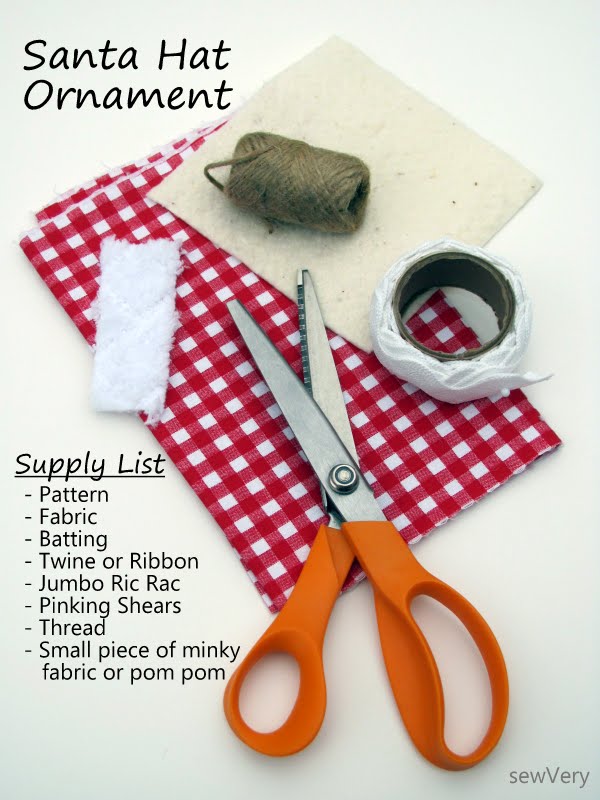
Here's what you'll need to get whip up one or a few dozen of these fun little Santa hat ornaments:
After you've gathered all the supplies listed above, print out the pattern piece from my Craftsy pattern shop (affiliate link).
Next, lay out your fabric and batting so it looks like the picture below.

Then place your pattern piece on top, pin in place, and cut out the two pieces of fabric and batting all in one step. You can cut out multiple sets without much waste by flipping the pattern over and lining up the edge with the previously cut out piece.


Once you get your pieces all cut out, pin them together.

Now you are ready to stitch the pieces together. You may use a walking foot if you have one to help prevent the fabric from creeping, but it's not necessary. I didn't bother using mine because I'll cut off any irregularities when I pink the edges for the final ornament.


Pink the edges.

Cut a piece of twine or ribbon 5" long and fold in half. Place the cut edges on the backside at the top of the Santa hat and tack down with a few machine stitches.
Then take your piece of comfy or minky fabric and rough cut a 1" circle. Center the circle over the top point of the Santa hat and tack it down with a couple of machine stitches. If you are well coordinated, you could take down the twine and the circle at the same time! I opted to do them separately, but that's just me.

Now take your jumbo ric rac and cut a piece long enough to cover the bottom edge of the Santa hat. Use your pinking shears to cut the edges to help prevent the ric rac from fraying. Sew the ric rac over the bottom edge making sure to cover up the bottom of the fabric.

That's it! In an hour's time, I sewed together well over a dozen of these adorable Santa Hat Ornaments. My kids loved putting them on the tree, but I managed to save a few to put on Christmas presents for teachers and friends.
This tutorial if for personal use only and it may not be reproduced or copied in part or whole without my expressed written consent.
Good idea!!! Thank you for sharing!
ReplyDeleteBisous
love it!!!! Thanks for my gift today! :)
ReplyDeleteSo cute! I like the idea to put this on the gifts!
ReplyDeleteCute idea! Thanks for sharing.
ReplyDeletelove these cute hats! Thanks for sharing your candy canes!
ReplyDelete~Heather
Thanks!
ReplyDeleteLovely ornaments! I will probably make lots of these for Christmas!
ReplyDeleteHi! Just wanted to let you know that the link for the pattern is not working.
ReplyDeleteThank you for letting me know, Mary. I have no idea why the affiliate link changed, but I have updated the link which should work now. Please let me know if you have any other issues!
ReplyDeleteThank you so much!
ReplyDelete